I recently had my first attempt at stone lithography at Draw Brighton, under the tutelage of expert printmaker and educator Scarlett Rebecca. I thought I’d take the opportunity to provide a simple overview of how this fascinating process works.
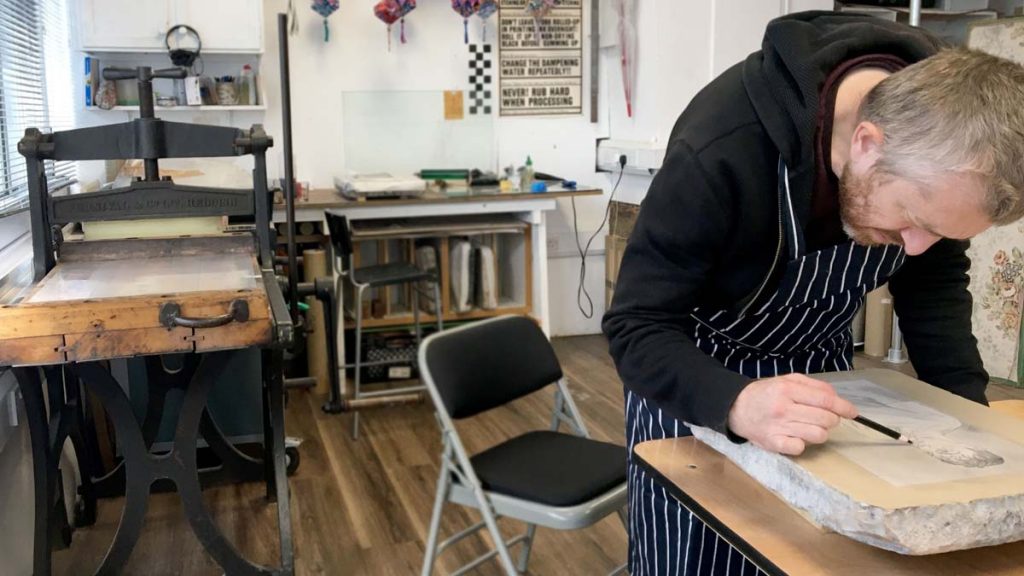
Unlike etching (in which the image is scratched onto a treated metal plate, then bitten in with acid), lithography allows the artist to draw directly onto a stone – making it surely the most direct and intuitive of all traditional print media.
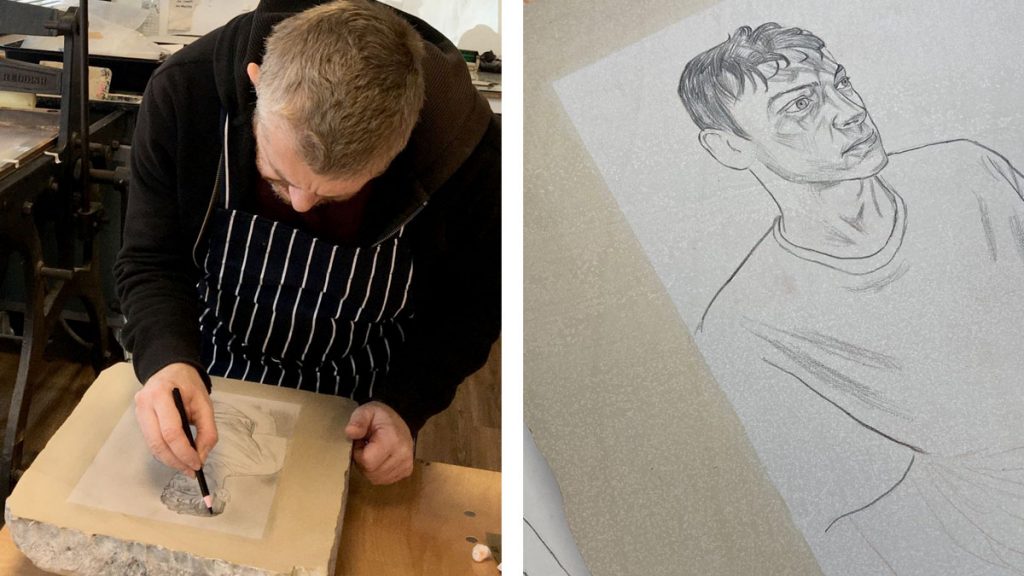
The process relies on the fact that grease and water repel one another. A design is sketched out directly onto a limestone block using special greasy litho crayons (a chinagraph pencil also works). Watercolour-style washes can be added by painting on a substance called ‘tusche’ (tusche is lithographic ink, tusche being German for ink; it’s originally a German process) – while softer background textures may be added using crayon on a cloth.
When the drawing is complete, the stone is then etched with acid. This will create a chemical reaction on all the drawn/image areas of the stone, embedding grease in the stone which will attract the ink. The non-image areas will now only attract water and repel the printing ink, meaning that the ink will only cling to the greasy image.
Etching the stone is, of course, where the real printmaking expertise of a teacher like Scarlett proves essential. It’s a whole science unto itself. A solution of gum arabic and nitric acid is painted over the stone – but in certain areas (the greasier parts of the drawing) stronger solutions, containing more drops of acid, must be applied to preserve the texture of the drawing.
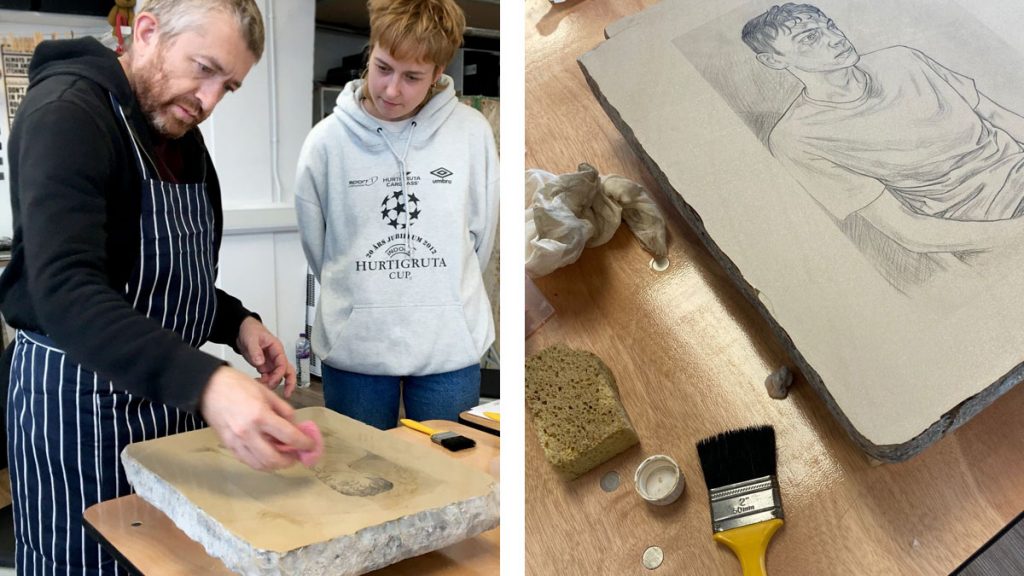
The stone is then left overnight. On day two, the stone is moistened and inked up as a test (to see how well the acid has worked), and any mistakes can hopefully be improved with a second exposure to the acid/gum arabic.
Finally it’s time to print. The golden rule of lithography, of course, is that the stone must be kept wet throughout the printing process. Water is sponged on after every pass through the press. Ink is added with a roller and will adhere to the ‘drawn’ lines on the stone. Again, this is quite an intuitive process. Usually many ‘proof’ prints must be taken before a satisfactory image will start to emerge. It takes a while for the ink to build up on the stone, and for the printmaker to get a feel for how many ‘rolls’ of the roller each time will make for a perfect impression.
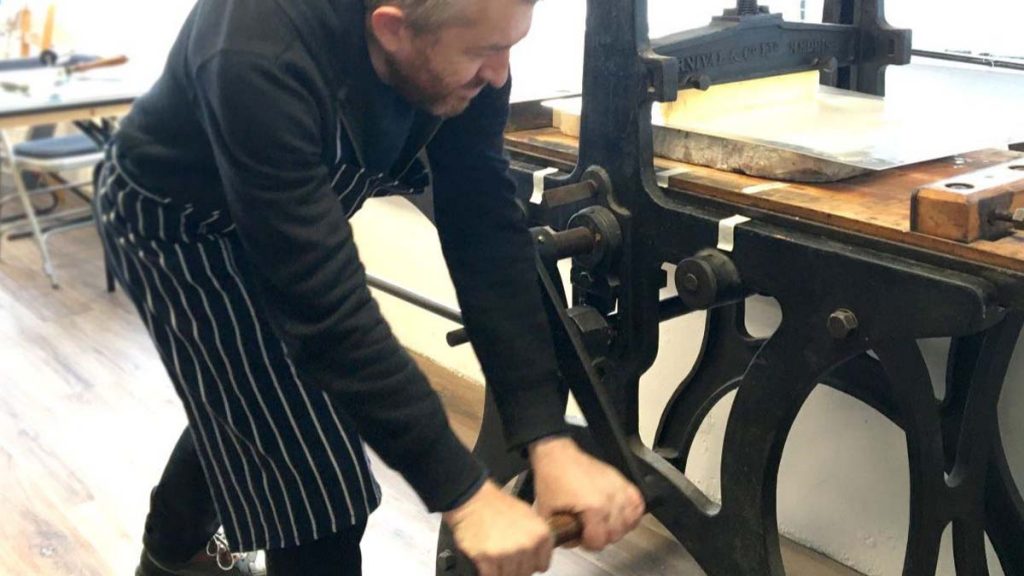
With a printed edition complete, the stone can be cleaned off – and finally returned to its original, virginal state as a smooth piece of limestone. This is done using tons of elbow grease, and a strange handle-operated tool called a ‘levigator’. Each time the stone is levigated, a tiny layer is removed, giving the stones (theoretically) a finite life. It’s sobering to think that lithographic limestones are no longer being quarried, and stone lithography was recently added to the Heritage Crafts ‘endangered’ list.
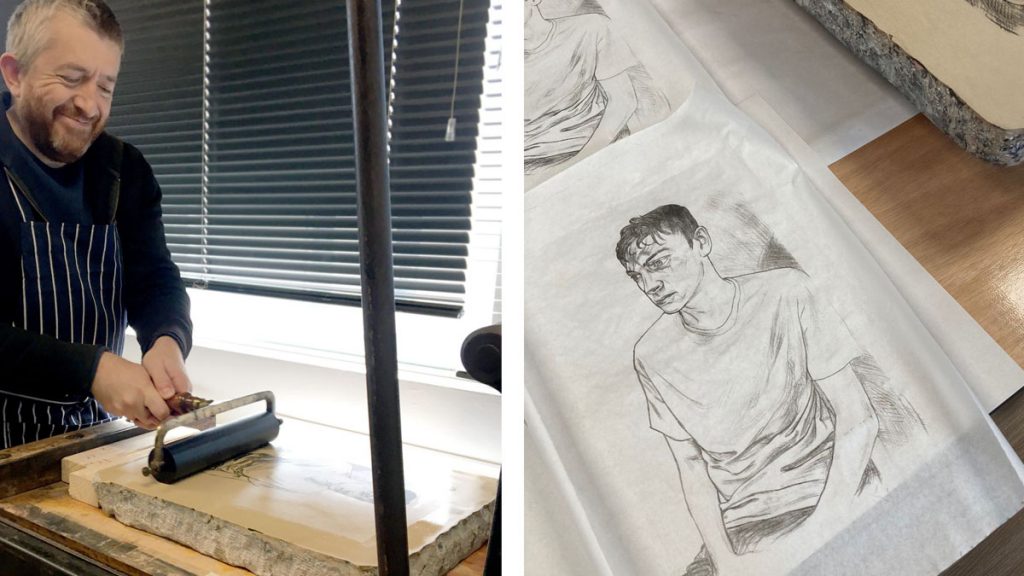
My print (a portrait of fellow artist Tom Mead) came out very well for a first attempt – although a textured background proved too tentative and was mostly lost during the etching stage. Definitely all the more reason for me to go back soon and have a second attempt!
(Photos by Scarlett Rebecca)